Reviewing the icestation-32
Introduction
Recently I stumbled over one of the coolest projects I have ever seen - and that means something - it is called the icestation-32. It basically implements a complete (modern) retro console on an FPGA. The hardware supports different scrollable layers and sprites like you are used to from let's say the NES, but with overall 128kbyte amount of RAM, a high display resolution and features like one pixel affine-transformable layer it positions itself to be similiar to the SNES.
Game consoles of this era used the vertical interrupt to change registers while the screen was drawn to realize cool effects like wobbling, swapping the palette or even changing the layer modes. Icestation-32 uses a different technique for that: it implements the copper coprocessor with a limited instruction set, to do exactly that: change registers on the fly.
The features speak for themselves:
- RISC-V CPU (configurable with VexRiscV or PicoRV32)
- Custom VDP for smooth-scrolling layers and sprites
- Custom "copper" coprocessor integrated into VDP to perform raster effects
- Custom multichannel ADPCM decoder / mixer (44.1KHz, 16bit stereo)
- Configurable video modes of 640x480@60hz or 848x480@60hz
- 4bpp graphics assembled from 8x8 tiles
- ARGB16 colors arranged into 16 palettes of 16 colors each
- Optional alpha blending using 4bit alpha intensity**
- 3x or 4x scrolling layers up to 1024x512 pixels each*
- 1x 1024x1024 pixel affine-transformable layer*
- 256x sprites of up to 16x16 pixels each
- 1060+ sprite pixels per line depending on clock and video mode
- 64kbyte of CPU RAM (2x iCE40 SPRAM)
- 64kbyte VDP RAM (2x iCE40 SPRAM)
- (S)NES-compatible pad interface***
Now you may not own an iCEBreaker or the ULX3S yourself, but that's not a problem: You can simulate the complete game console. Because the hardware is written in Verilog, Verilator is used to simulate the whole design. The VGA output is then shown in a window to you.
There are already many examples to try out in the repository. But to get everything to work on my system I had to change some things:
Simulate the examples
Compile the RISC-V toolchain
Building the cross-toolchain for the RISC-V processor is just a matter of configuration: The PicoRV32 CPU of the icestation-32 is configured to support the integer base ISA rv32i. So we need to configure our compiler accordingly.
Clone the riscv-gnu-toolchain repository.
We have to install our toolchain somewhere, I have chosen /opt/riscv32i.
It makes sense to create the directory and set the ownership to your user:
sudo chown $USER /opt/riscv32i
Or you have to do that later on recursively:
sudo chown -R $USER /opt/riscv32i
Configure the compiler:
./configure --prefix=/opt/riscv32i --with-arch=rv32i
Now lets compile the compiler (pun intended):
make
Note you can specify the number of jubs to run in parallel to speed up compilation with for example make -j 4 or make -j$(nproc) to automatically detect the number of cores. The Makefile will automatically clone the neccessary submdodules for you, just be patient.
After that you should have successfully installed your toolchain in /opt/riscv32i.
To now be able to call the binaries from the command line we need to add the bin directory to our PATH environment variable.
export PATH=/opt/riscv32i/bin:$PATH
To automtically do that on login add that line to your .bashrc. To reload it execute
source .bashrc
Now you should be able to call for example riscv32-unknown-elf-gcc.
riscv32-unknown-elf-gcc --version
riscv32-unknown-elf-gcc (GCC) 10.2.0
Copyright (C) 2020 Free Software Foundation, Inc.
This is free software; see the source for copying conditions.  There is NO
warranty; not even for MERCHANTABILITY or FITNESS FOR A PARTICULAR PURPOSE.
Run the examples
For the synthesis of the design you need to install yosys.
sudo apt install yosys-dev
And for displaying the VGA output you need to install SDL2:
sudo apt install libsdl2-dev
Now the script to compile the example assumes another suffix for the toolchain than the one we have, so you need to replace one line in software/common/cross.mk with:
CROSS ?= riscv32-unknown-elf-
Now you are ready to run the script under simulator:
./build-and-run-sprites-demo.sh
But then I got a compile error:
In file included from ../QSPIFlashSim.cpp:7:
../QSPIFlashSim.hpp:108:16: error: ‘string’ in namespace ‘std’ does not name a type
  108 |     const std::string cmd_name(CMD cmd);
      |                ^~~~~~
../QSPIFlashSim.hpp:19:1: note: ‘std::string’ is defined in header ‘<string>’; did you forget to ‘#include <string>’?
   18 | #include <set>
  +++ |+#include <string>
It seems like #include <string> in simulator/QSPIFlashSim.hpp
#include <stdint.h>
#include <vector>
#include <set>
#include <string>
fixes this error for me.
Now you can actually run examples:
![]()
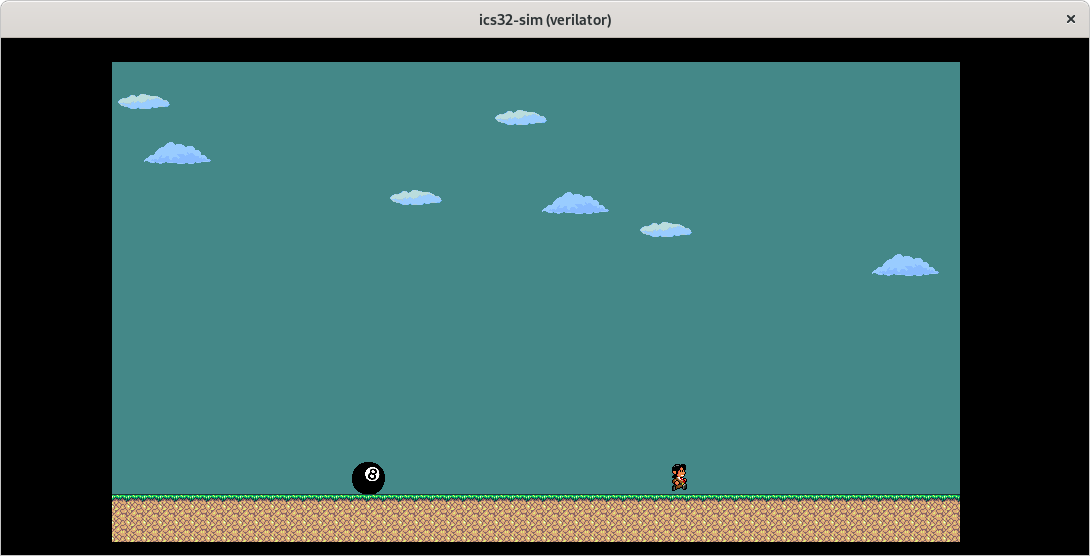
I get around 2.4 fps, not actually playable. But that's enough to quickly test your game and later on load it onto your board.
Super Miyamoto Sprint
These aren't the only examples. The same author also has another repository with a more feature complete game super-miyamoto-sprint!
That's what I am going to try out next.